Image Map
Showing posts with label sewing. Show all posts

Friday, October 19, 2012

Plus Sized Skirt to Cute Paper Bag Skirt

Things suddenly became a little busier in our house. With the last semester of school coming to an end for my husband, we are suddenly faced with decisions regarding our future. Some of you may know that my husband is a Machinima Youtube commentator. This means that he makes money from sponsors and video views on his video game commentary videos. 

Recently, we sat down and had a long chat. He revealed that he wanted to continue his Youtube career instead of pursuing a job in mechanical engineering. It may seem like a waste of a bachelor's and master's in business degrees, but the income he currently brings in is no small amount of pocket change. Since I've technically been unemployed, we've been living off his income alone for the past 5 months. I'm happy for him too! I'm glad that he's found something that he truly enjoys doing and while making some hard earned money.

Before Brad told me that he was taking on an internet career, I had hoped that we would move wherever he got an engineering job. Now that he'll be working from home, I actually get to choose where we move. 

So, I chose the Dallas-Fort Worth metroplex area in Texas. My big brother's family lives there and the state is faring quite well in this down economy. Jobs are aplenty and the healthcare industry is bustling in the Dallas-Fort Worth area. This means I can expand my horizons in my nursing career. Along with applying for jobs and searching for houses, I've been cleaning and preparing for a visit from my sister, brother-in-law, and nephew this weekend. I'm so excited!

Since I've been too busy to craft new things I decided to post about something I made awhile back... a chambray skirt!


Wednesday, September 12, 2012

DIY Regular Scarf to Circle Scarf

Instant gratification crafts. We all like those. You make them quick and wear/use them quick. I remember seeing a tutorial on transforming a regular pashmina scarf into a circle scarf, but I can't seem to find the link. I was rummaging through my scarves and found one that I did not wear much because I hated the dangl-y ends getting in my way. 

So, I turned it into a circle scarf! In 5 minutes!


Tuesday, September 4, 2012

Winter Shorts (And How To Wear Them)

Ahh... the approach of fall... one of my favorite seasons of the year! Except, it's not coming fast enough. In the South, fall and spring only exist about 3 weeks out of the year. Right now, it's 98°F with a heat index of 105°F with no drop of temperature in sight. Oh don't worry, this isn't a heat wave. This is normal. It's just Mississippi. :P

Most of you probably think it's ridiculous to wear shorts in the winter. Since it rarely drops below 40°F during the winter in the South, I think shorts (with tights or leggings) is a fabulous idea although the trend hasn't really sparked down here. Then again, Mississippi doesn't catch onto trends as quickly as the rest of the nation. :/

Although I get strange looks from strangers wearing shorts in the dead of winter, I don't really care. For one, I don't get cold very easily. Ever since my wool pants to shorts tutorial, I have been looking for wool pants of every color to convert into shorts. This week, I've made a pair of brown, navy, and black leather shorts!

Feast your eyes!


I can't wait to wear these! I was sweating just trying on these outfits! Let me break down on how to wear these babies.

Thursday, August 2, 2012

[TUTORIAL] Wool Pants To Shorts (and how to add belt loops to pants)

I finally got my schedule for my new job today. The good thing is that I get to pick what days I want to work, but the bad thing is that the days available are first come, first serve.

So far, I am only working one day and that was the only one they had available for me closest to where I live. :(

Today's post was inspired by Freshly Given's wool pants to shorts tutorial that I had pinned on Pinterest long long ago. In my recent thrift shopping extravaganza, I picked up a pair of wool, grey-ish XOXO dress pants. They were very cute, but unfortunately had some awful stains all over it. Luckily, they now have a new life as wool shorts!


I used Freshly Given's tutorial as a vague guideline to make mine. I'll be going a little more in-depth on how to measure for the cuffs and even show you how to make belt loops!

Let's begin!

Thursday, July 26, 2012

[TUTORIAL] Hooked on Fishtail Skirts

I'm at it again! Ever since I made that fishtail skirt the other day, I've wanted a lighter, flow-y one that would flutter behind me as I walked.

Outfits I devised to go with my new fishtail skirt. I like the far left and far right best.
So, I decided to use some vintage floral lightweight fabric I found in my stash that I inherited from my grandmother. I have devised a mini-tutorial of sorts on how I made it.

There was a lot of flying-by-the-seat-of-my-pants in this post. I made up stuff on the fly and nearly literally set my skirt on fire. We'll get to that part in the tutorial....

Monday, July 23, 2012

Fishy Fishtail Skirts

You guys. It's freaking HOT! So my air conditioning has been broken for over 24 hours now and our landlord won't send anyone to fix it till Monday morning! UGGGH... I know I grew up without A/C, but I'm now spoiled by it's goodness. I would like it back, plz. :(

My craft room is sweltering but I shall keep on crafting!!!! I have managed to make one using Morning by Morning's maxi skirt tutorial.

I didn't want one maxi length so I made a shorter version above the knee length that tapered to right above my calves in the back


Thursday, July 19, 2012

[TUTORIAL] Dress Pants to Skinny Ankle (Cigarette) Pants

Woah! I've been up FOREVER! Well, since 1pm yesterday, took a small nap, but I've been up since! I even ran this morning at 6am!

So, this post is about what I've done all night. I'm a little slow on fashion trends, but I LOVE those ankle length skinny pants, otherwise known as "cigarette" pants. While I was studying abroad in London in June 2007, these were already in style and I saw them EVERYWHERE in Camden Town. The one thing that's different with these new pants are that they're more sleek and office-approved than the skin tight cigarettes of the UK.

MONTHS ago, I bought 3 pairs of dress slacks at the thrift store: navy, black, and grey. I had the intention of making these into cigarette pants, but I FINALLY got around to trying one this morning. I found Miss Allie Jane's tutorial and was inspired! Don't get me wrong, I love her tutorial, but it didn't seem to go into deep detail so I decided to make my own tutorial covering all the little things.


Saturday, July 14, 2012

DIY Sweetheart Bandeau Top [with link to tutorial]

Strapless tops were never one of my favorite pieces of apparel. I was a bit self conscious about my shoulders and since most of them were tight fitting, it made me dread my lower stomach pooch.

This summer, I've been looking for new pieces to wear and I found this tutorial by fake-leather via Pinterest. It looked pretty simple and I tried it out on a spaghetti strap tank I already owned but never wore.

The verdict?


I LOVE it! I've made 5 of them in different colors! The tops look especially cute with skirts and a big belt so it hides my stomach pooch quite well.

There are a few steps not covered in the tutorial that I'm going to run through.

I started with this coral colored tank:


In fake-leather's tutorial, it doesn't seem like her top had a built-in shelf bra. I really hate shelf bras with a passion and despite looking high and low for a tank that DID NOT have one, all I found were ones WITH shelf bras.


So, I'm going to show you how to cut out that shelf bra and take off the straps! All you need is a pair of sharp scissors, a steady hand, and patience. 

First, find the side seams and pick which ever side to start cutting.


Next, start cutting from the bottom where the elastic is. Cut along the seam and then veer off either left or right. Your preference.


From here, just cut carefully around the upper part near the top elastic all the way around. Be careful and try not to cut the fabric on the back side or you'll have holes show up when you wear it. A good way to prevent is to take it slow and keep your hand under the bra to make sure the scissors are between the shelf bra and tank fabric. 

After you've finished that, you can cut straight across on the front of the tank (see fake-leather's tutorial) but don't cut the back straps yet! I've found if you just cut it off, it's left with these irritating "nubs" that will dig into your backside when you wear it and makes it 100x hard to sew through on your machine or by hand.

So, take your seam ripper or your scissors and carefully find the threads that hold down your straps and snip them ONE AT A TIME. 


Do this for both straps and now you're just left with the strapless tank body to finish! Follow the rest of fake-leather's [tutorial] and you're on your way to a cute sweetheart bandeau top for summer!!!

Here's how mine turned out! (Disregard the dusty mirror and stomach pooch.)


Tuesday, July 10, 2012

[TUTORIAL] How to Add a Sash/Bow Tie to a Button-up

Hey guys! You may have seen my other tutorial on how to enlarge a button-up and make it into a removable bow tie shirt. In this short tutorial, I will show you guys how to add a bow tie/sash to the collar of a shirt.

A few considerations before you begin:

-The collar on my button-up is a mandarin-style collar so this tutorial only explains how to add a sash to that type of collar.
-If you have a shirt with an actual fold over, pointed collar (like any normal button up), I would recommend just using my tutorial linked above to make a removeable sash.
-Here is a no-sew tutorial on how to make your collared shirt into a mandarin collar shirt. Attaching a sash will be a bit different than my method since this isn't a true mandarin collar.

Let's begin!

[TUTORIAL] Removable Bowtie Shirt & How to Enlarge A Shirt

Hey guys! It's Tutorial-Tuesday! (Not really. I am not motivated enough to post a self-made tutorial every week.) Today, I'm going to show you guys how to ENLARGE a shirt that's too small and how to alter a long-sleeved button-up into a sleeveless bow-tie button-up.

I was inspired by Extra Petite's tutorial on how to transform a button-up to sleeveless bow-tie top except the shirt I had was TOO SMALL for my busty Asian self. I may be petite, but I was unfortunately (hehe not) blessed with my grandmother's Amazonian Asian genes of bustiness.

So, I shall show you the ways of enlarging a shirt!

Sunday, May 31, 2009

Hooray!

So May 27th - May 31st was Sew Mama Sew's May Giveaway day! There were over 400 blogs that participated in giving away random crafted goods and/or supplies. I swear I entered over 100 blogs for the giveaway and I actually won something!

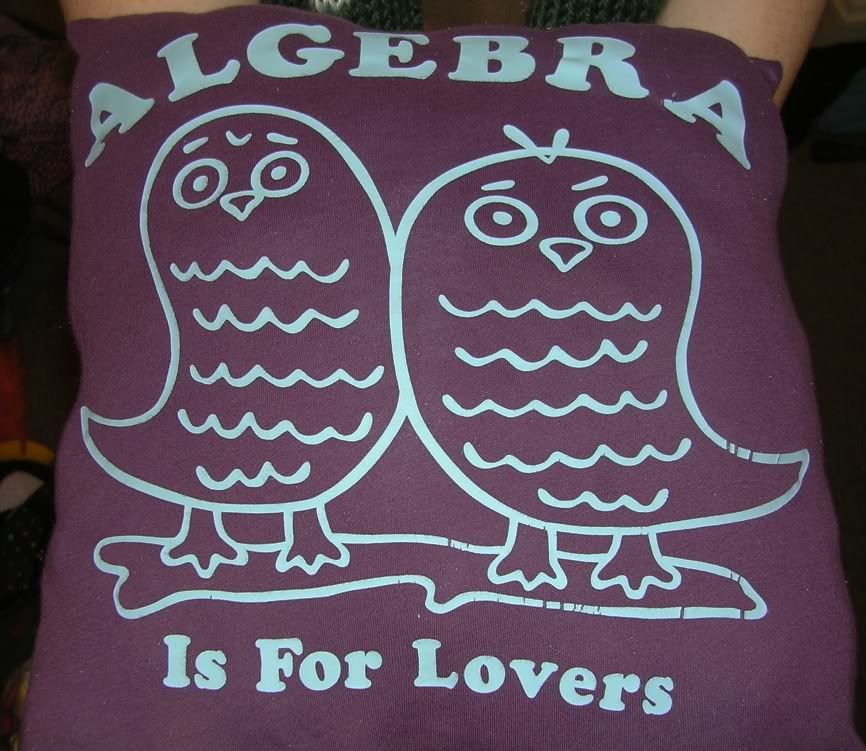
I entered Sew Little Fabric's giveaway for an embroidery pattern of this owl wallhanging and got it! Yay! It's my first time ever to win a giveaway! I'm a novice at embroidery, but I really want to put this on a bag or shirt. Maybe I'll try out the embroider on an actual wallhanging first so I can put it up in my dorm room next year. (The room theme is owls and apples :D )
I hope I win more! (Although I highly doubt it.)

I just finished my haori and juban. For those that don't know what those are, a haori is similar to a kimono except it's used as a jacket with slits at the underarms. The juban (usually white) is worn underneath the haori. The juban was originally worn as an undergarmet to keep from dirtying the haori which reduced the need to wash the haori since workers in Japan from the olden times didn't have much clothes to wear from day to day like we do now. I'm too lazy to take a pic of me wearing them right now... but the haori is black and the juban is white.

It's actually a cosplay outfit from the anime Bleach. Yeah. I'm nerdy.

Tuesday, April 1, 2008

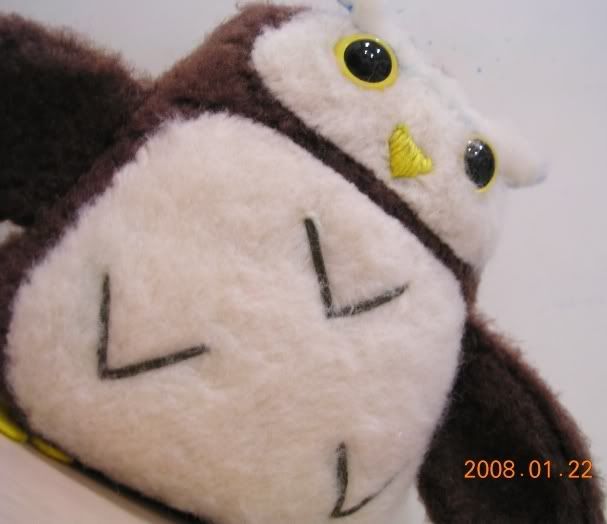
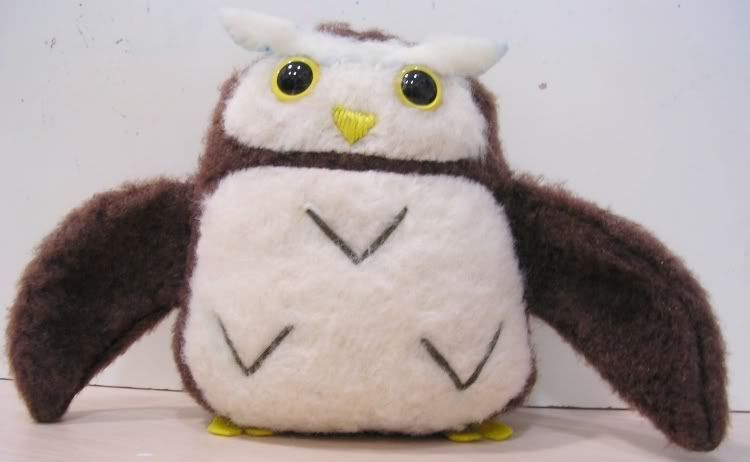
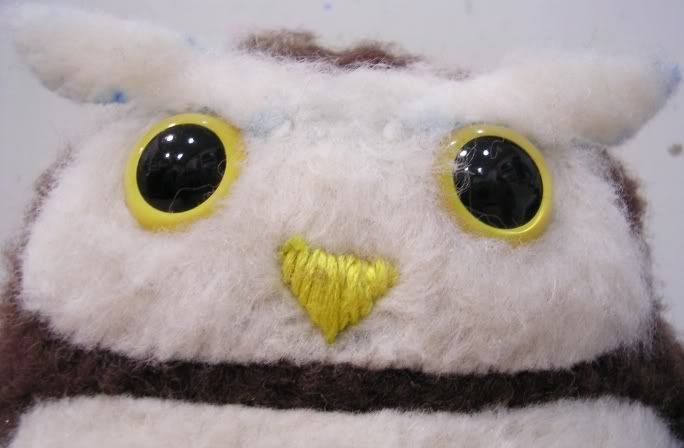
Owl pattern & Tutorial

Hey! I'm actually posting a pattern and a tutorial!


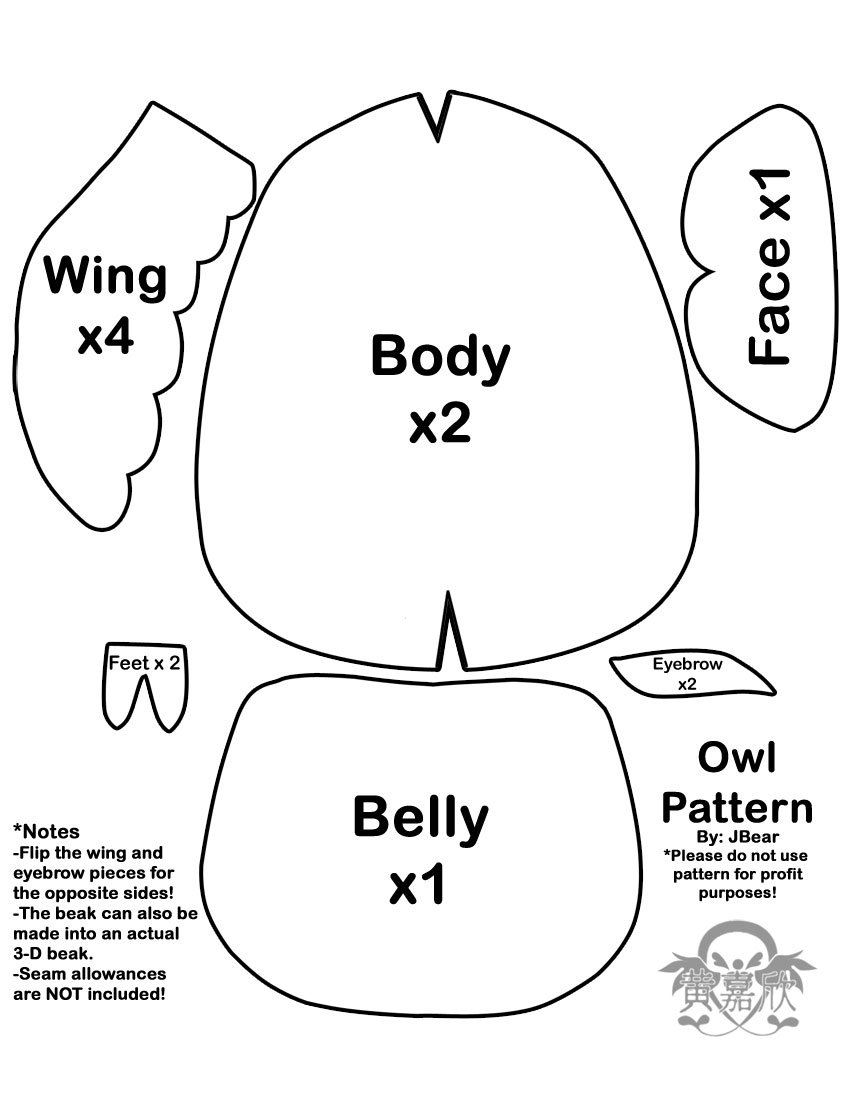
This is the pattern for the 003 Owl plush I made for my friend. Please do not reproduce and use for profit purposes. This pattern solely for those that want to make this owl for gifting or personal purposes.


Click on the image for the full printable size or right click and choose "Save link as..."!

Now for the short tutorial!

1. Cut out the recommended number of pieces.

2. Sew the wings first! Put the right (or outsides) of the fabric together and sew around the edges EXCEPT the straight edge (this is where you stuff in the stuffing... if you want to stuff it).

3. Flip the wings inside out so that the right side is now on the outside.

4. Sew up the notches/darts (the V-shaped cutouts) on the body pieces. This will give the body some dimension so it's not all flat.

5. Now whipstitch (or stitching of choice) the belly and face pieces onto the front body piece. You can also sew/insert your eyes at this time too.

6. Put the right sides of the body pieces facing each other and pin the wings and feet.
IMPORTANT! With the right sides of the body pieces facing each other, sandwich the wing (and feet) pieces with the opposite tips facing each other in between the body pieces and pin the wings and edges together. Also, pin the feet pieces facing inward.

Like so: 

7. Sew! Sew like the wiiiiind!!!! Remember to leave an opening for stuffing!!!!
8. After you're done sewing, carefully flip it inside out and you can start stuffing!
9. Sew up the opening and voila! You have a cute pygmy owl!

Yay!

Sorry for the crappy tutorial.... if you have any questions or concerns please leave a comment!

Monday, March 31, 2008

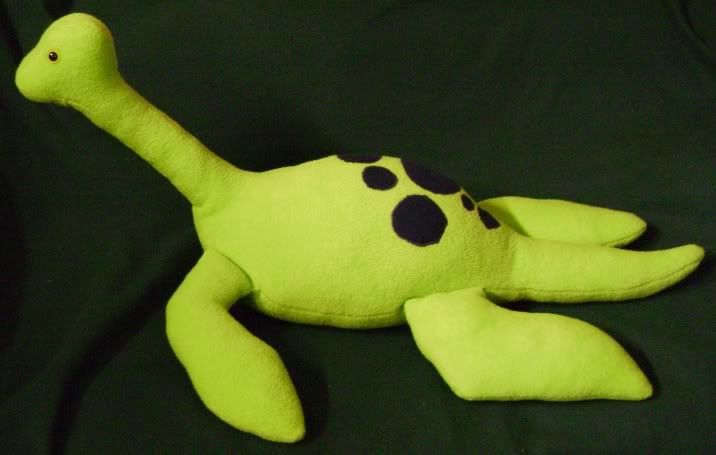
Nessie the Loch Ness Monster and more gifts...

So after Asky the Fuzzy Blue Squidopus and Downy the Orange Fuzzy Downs-Syndrome Sperm Whale comes...

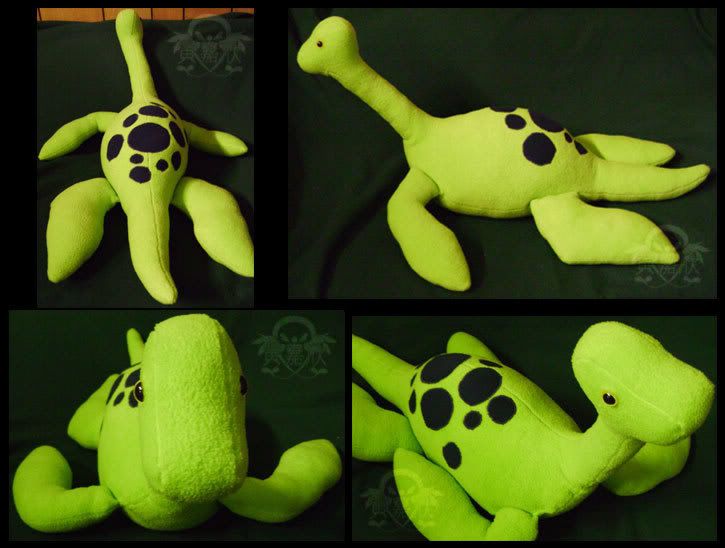
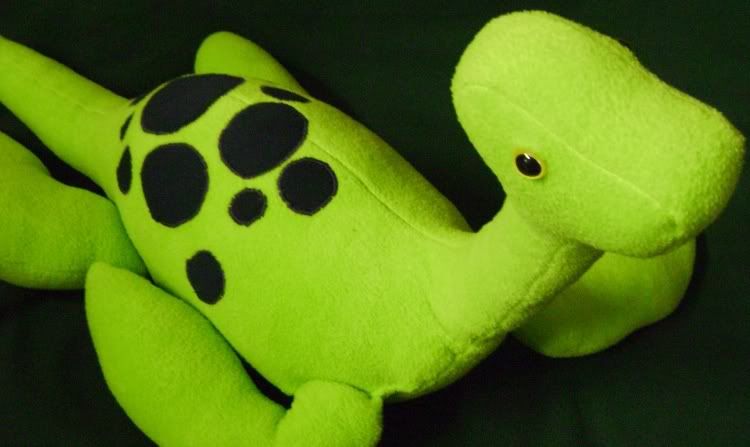
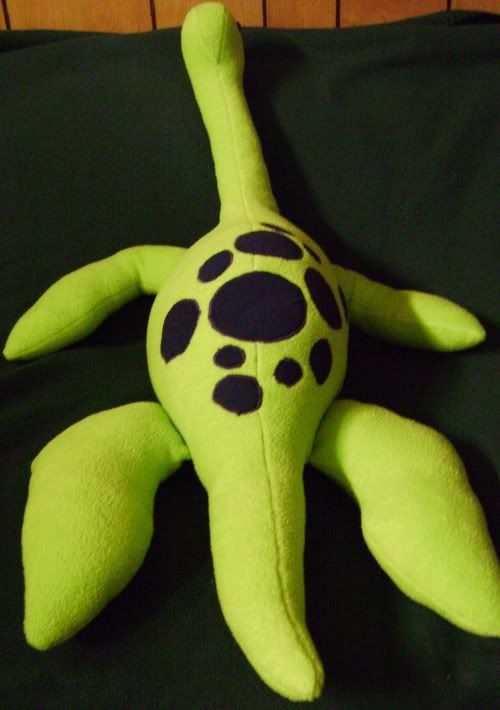
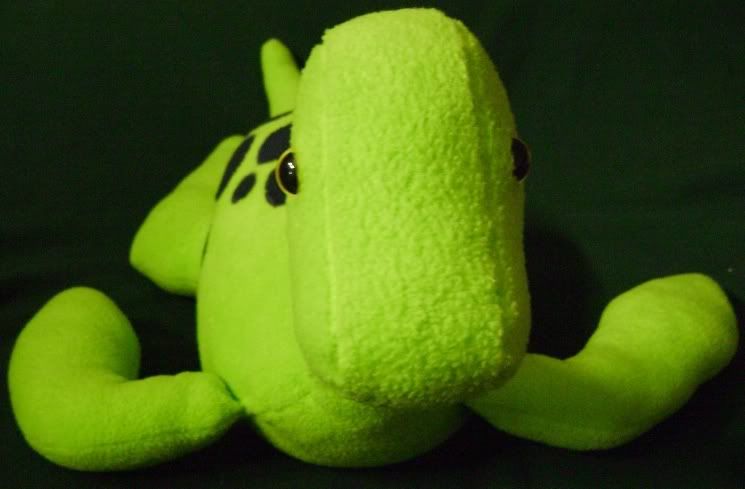
Nessie the Lime Green Loch Ness Monster. She's a girl.

This is probably my favorite plush ever!! I drafted my own pattern! :D I love sewing with polyester fleece... it's stretchy and doesn't fray. The spots on her back are made of a navy blue t-shirt my dad never wore.

It seems that all the fabric I buy is never used for what it's originally intended for... I bought this lime green fleece to make an Invader Zim Gir plush for my friend, but that never happened... so it became the Loch Ness monster after my boyfriend kept talking about how the Loch Ness monster is his favorite mythical creature and how cool it would be if I made him a plush.

Pictures!!!


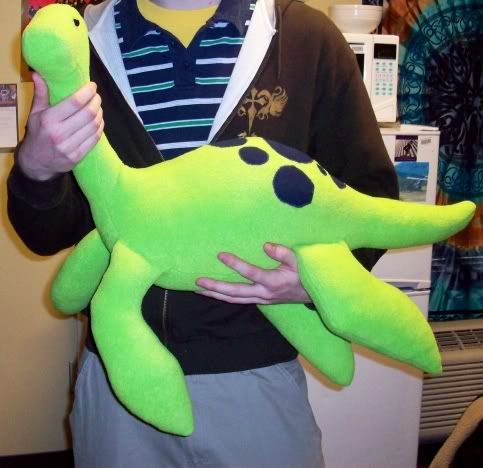
Comparison size! My boyfriend is 6'2"... Yeah. Nessie's a big girl. :D

NOW FOR THE OTHER STUFF!

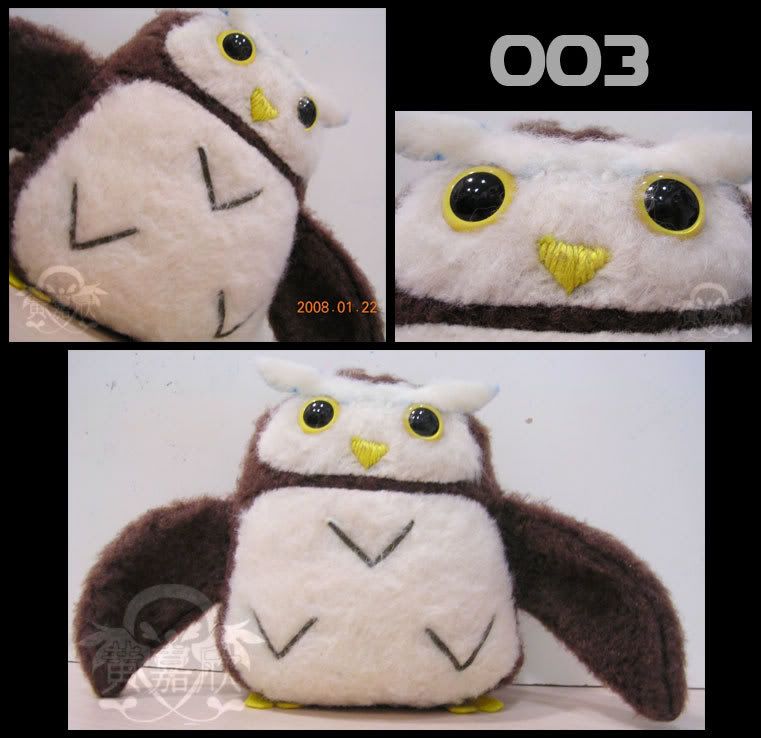
So... I actually had a craft swap with a friend of mine... she made me a Harry Potter Hufflepuff scarf (since I'm a Hufflepuff and all) and I was to make her an owl plush named 003 from the anime Yami no Matsuei.

I used a butt-ton of references and drew up the pattern myself. :D You can see the pen marks on his eyebrows... ignore that. I used tan and brown wool felt from Hobby Lobby and the eyes were from Hobby Lobby as well.


^One of the reference pics I used. I swear 003 looked different in every ref pic I found. :P

My suitemates, roommate, and I thoroughly enjoy shopping at thrift and consignment stores... so my roommate found a cute shirt for $.99 but couldn't fit it so I made it into a pillow for her.


The backside is some powder blue cotton jersey that I cut from a twin jersey sheet I found at Salvation Army.


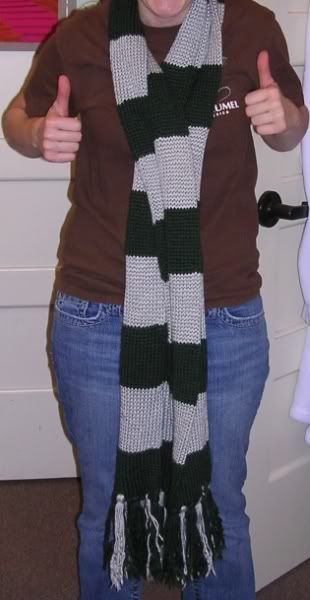
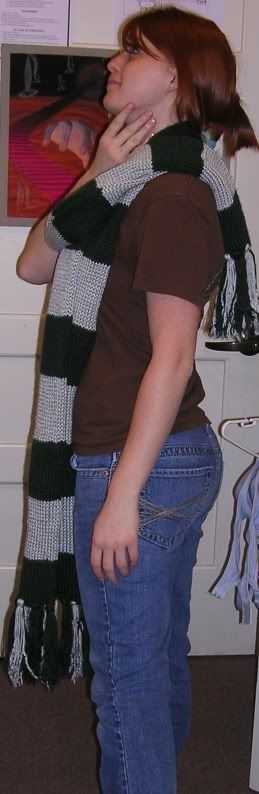
And FINALLY! The end of this long post! It's the Slytherin scarf I made for my roommate for Christmas! LOL. My roommate is so goofy.


Knitted with Bernat Satin Hunter and Silver that I ordered online on eBay. My 3rd scarf ever! :D

That's all the non-jewelry gifts so far! More jewelry updates later!

Friday, March 14, 2008

Gifts in General

I like to make stuff for people.... which is kinda bad because I never get paid for my stuff. :S

Anywhos, these are most of the gifts I've made for my friends from Christmas 2007 till now.


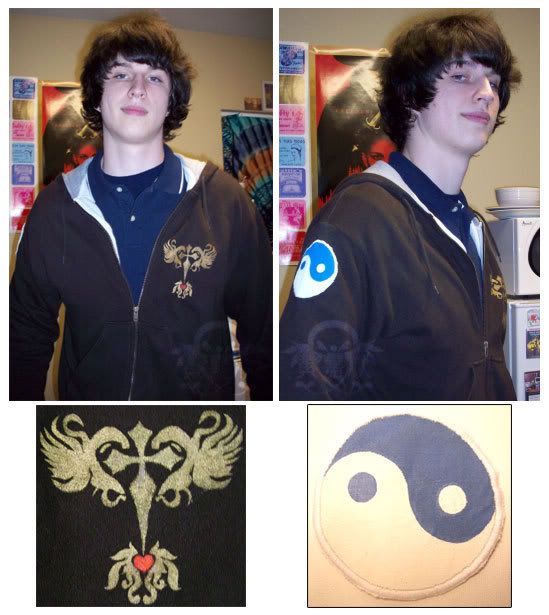
A hoodie I bought at Wal-Mart and added a stencil and hand-made ying-yang patch. A gift and modeled by my boyfriend. Patch was painted with fabric paint and design was hand done as well.


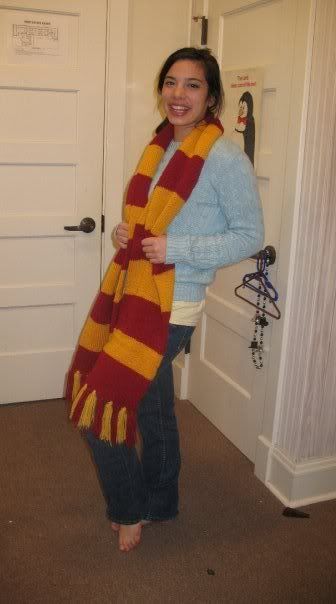
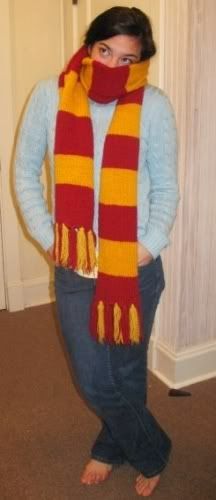
My first knitted item ever! A Harry Potter Gryffindor scarf for my friend.


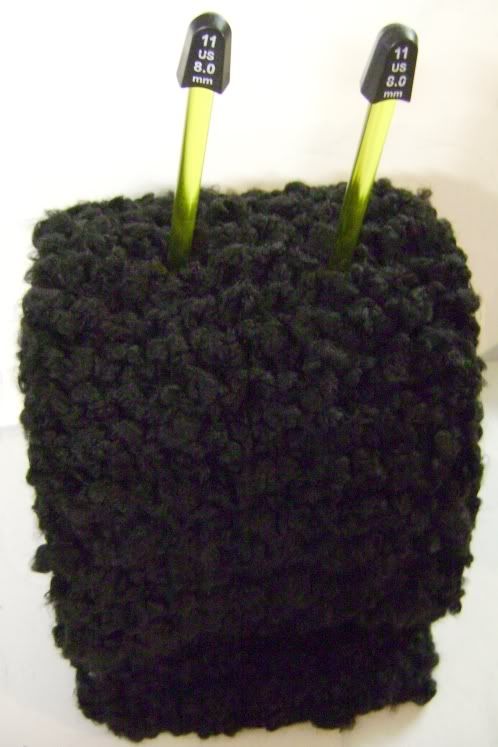
My 2nd knitted item ever! A black garter stitch scarf for my friend. Knitted with Red Heart black boucle yarn.


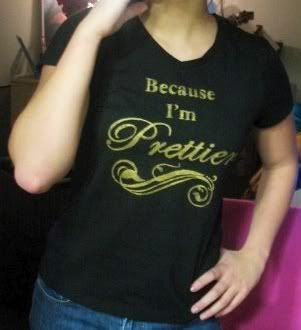
A stenciled shirt that says "Because I'm Prettier" for my friend. T-shirt was store-bought and stencil was made in Photoshop.


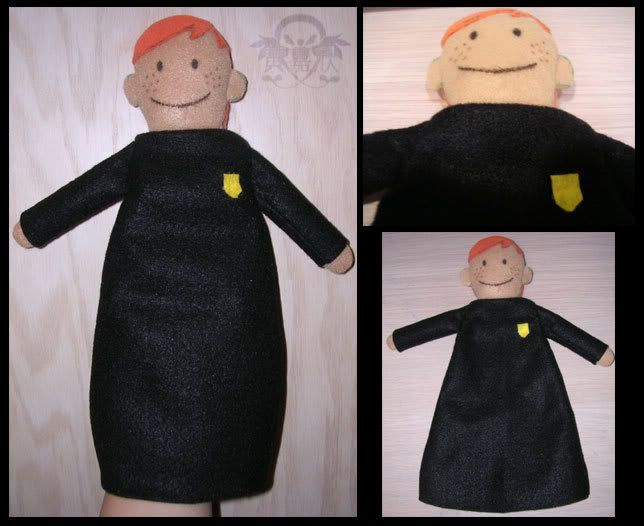
Ron Weasley Potter puppet pal for my roommate! Handsewn and made of felt.

Ehh... that's it for now until I get a picture of my roommate's Harry Potter Slytherin scarf...

Sunday, May 13, 2007

More creations!

Well, this is my last post for a month. I won't be sewing or crafting anything while in London. (Or at least I hope not...) Anywho, while taking a break from packing, I finished the U-shaped butt pillow and my sock armwarmers.

Armwarmers:

Right arm-->
Left arm-->

Well, luckily my camera didn't pick up on the crappy seam around the thumb part. I was supposed to use a modified mattress stitch to attach the thumb part to the main armwarmer... but I have no idea how to do that. <_<; I just did a regular mattress stitch and it ended up looking crappy. :P Here's pics of the butt pillow:

Top-->
Bottom-->

I found some random flannel fabric with bunnies on it and decided to make a butt pillow from it. The bottom is made of an old turquoise sweater I found in my sister's closet. :3

Well, that's all for now. I wasn't able to start the Harry Potter Gryffindor scarf... but that means I'll have another project to do after I get back. So, off I go to another country for the first time! See you guys in a month!

Wednesday, May 9, 2007

Hello! It's the Bitchin Stitcher!

Ahoy! And welcome to my craft blog "Stitchin n' Bitchin." I'll be posting up completed or work-in-progresses of my current projects.

But anywho, I have my first project finished. My roommate wanted a plush of a kodama from the anime movie "Princess Mononoke." I've never made a plush before, so what the hell? I might as well try once.

Being a college student low on cash, I was too cheap to buy good plush fabric to make it so I went to the local thrift store and bought an XL white t-shirt and used the fabric from it. I've noticed that store-made plushes are not really "huggable" since the fabric is either unpleasant to the touch or just plain stiff. So using cotton jersey (the stuff your t-shirts are made of) I made a plush that's cute and huggable! :D

Here are the pictures:

Here's the pic of the one I based it off of:


And here's the plush itself:


My roommate didn't want the generic alien-looking kodama. Instead, she wanted me to make her the one that looks like a surprised Pillsbury dough boy. The scarf in not part of the original design, but I put it there because the neck seam looked very rough and I needed something to cover it up. The scarf is just made from the hem of a t-shirt sleeve and sewn in place. Hrrm... I need to practice sewing seams on plushes... it's harder than it looks.

That's all I have for now! I'm currently working on a t-shirt skirt, halter, tank, and a funky U-shaped neck pillow. I'll be posting those when I finish.